

Master the Art of the 3D Print Vase: An Actionable Guide
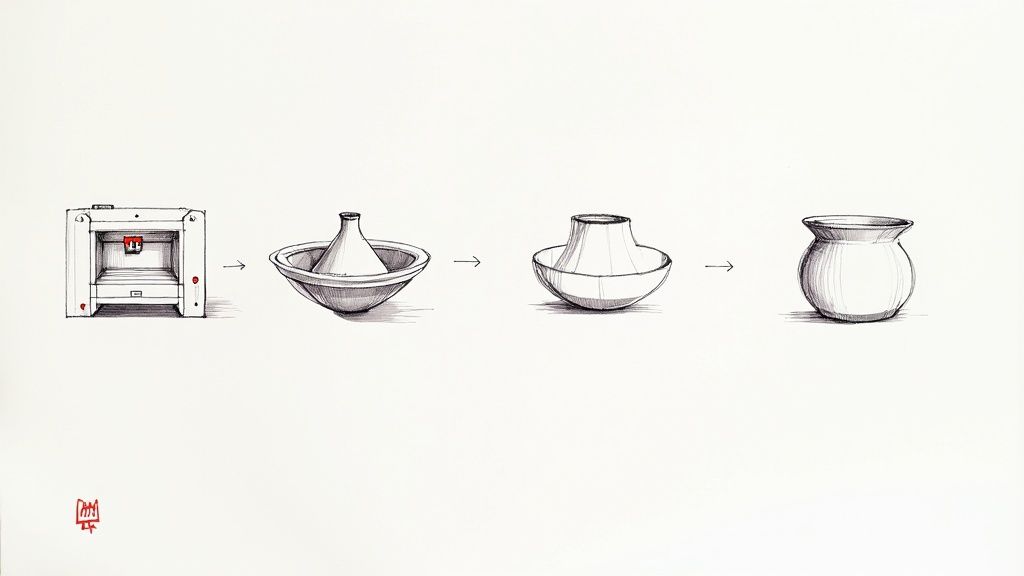
Ready to turn a spool of filament into a stunning piece of home decor? To 3d print a vase successfully, you need three things: a great model, the right filament, and optimized slicer settings. The most critical setting is Vase Mode. This feature instructs your printer to create the object in one continuous, spiraling motion, giving you a seamless, elegant finish without the ugly Z-seam running up the side.
This guide provides the actionable steps to master this satisfying project, blending technical skill with creative expression.
Your First Step to Printing a Beautiful Vase
Creating a custom-designed vase that perfectly complements your room's style is an achievable and rewarding project. This guide is your roadmap. We will walk through the entire process—from finding a design to picking the right materials and mastering your printer settings—so you have the practical skills to create something beautiful.
From Filament to Functional Art
This is your chance to experiment with shapes, colors, and textures you won't find in a store. A well-executed 3D printed vase can easily become a conversation starter, showcasing what's possible when creativity meets technology. Whether you prefer a sleek, minimalist vibe or a complex, organic form, the fundamental process is the same.
A 3D printed vase is a physical piece of art created from a digital file. Your goal is to master the steps that transform a concept into an object you can proudly display in your home.
By the end of this guide, you will have the skills and confidence to bring any vase design to life.
Here's a checklist of what you'll learn:
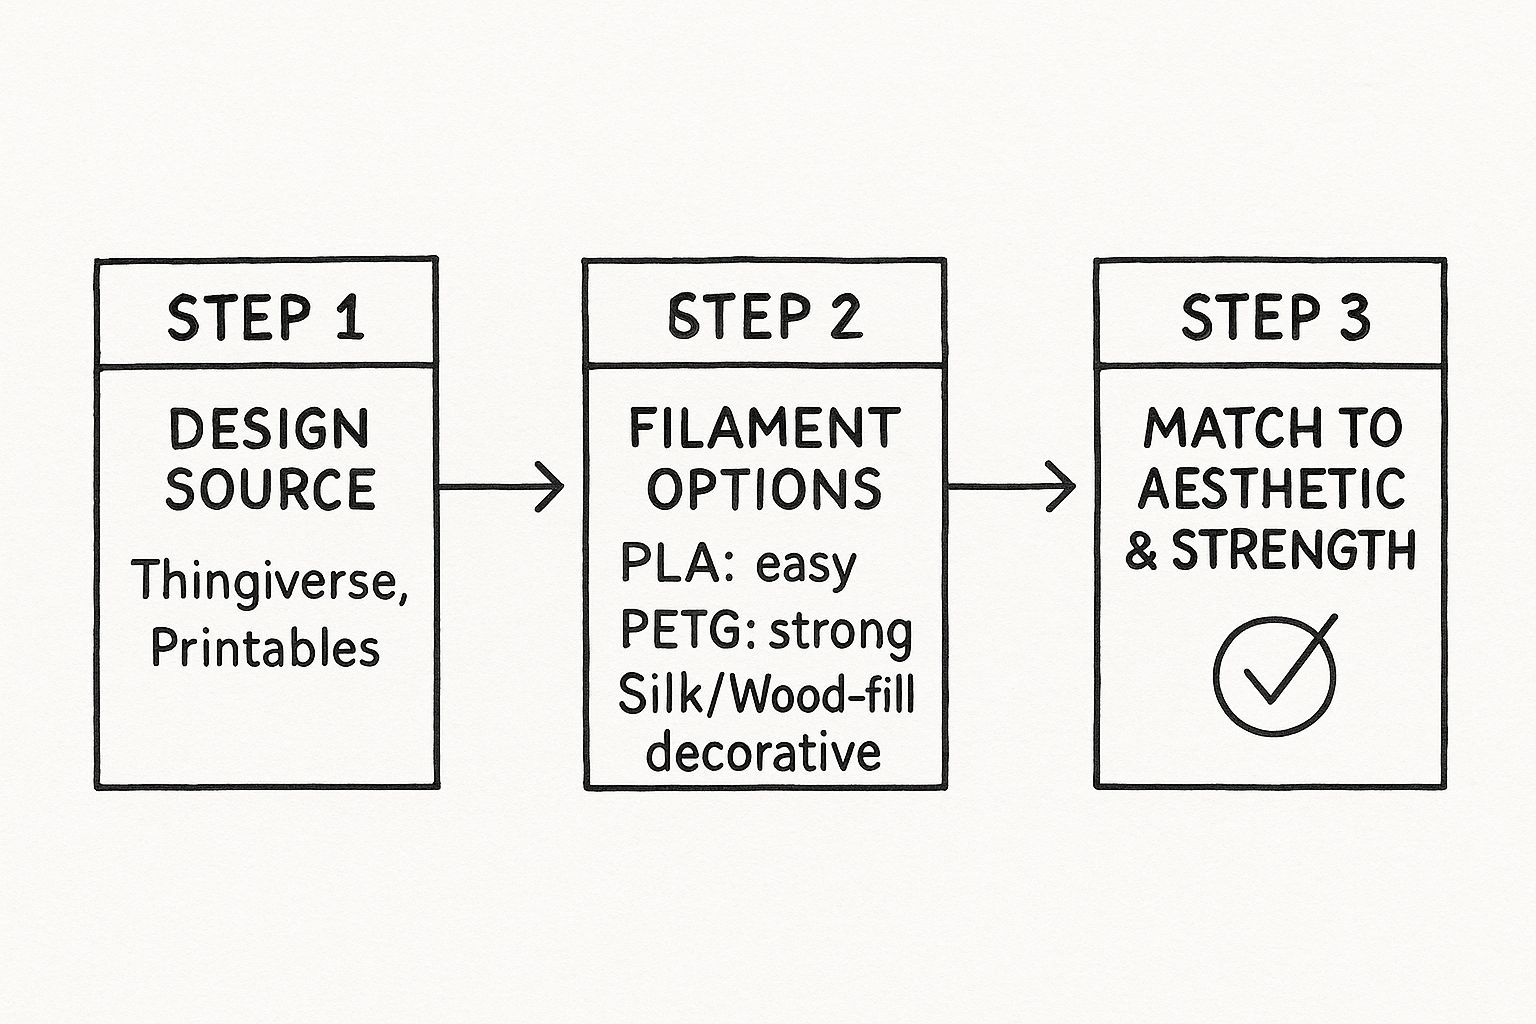
- Actionable Step 1: Find and select a printable 3D model.
- Actionable Step 2: Choose the best filament for aesthetics and function.
- Actionable Step 3: Configure slicer settings like Vase Mode for flawless walls.
- Actionable Step 4: Use specific techniques to make your vase watertight.
A thoughtfully crafted vase can elevate an entire room, much like other key decor items. A single piece, such as one of the floor leaning mirrors we've discussed, can add significant style and depth. Let’s get started.
Find Your Design, Choose Your Filament
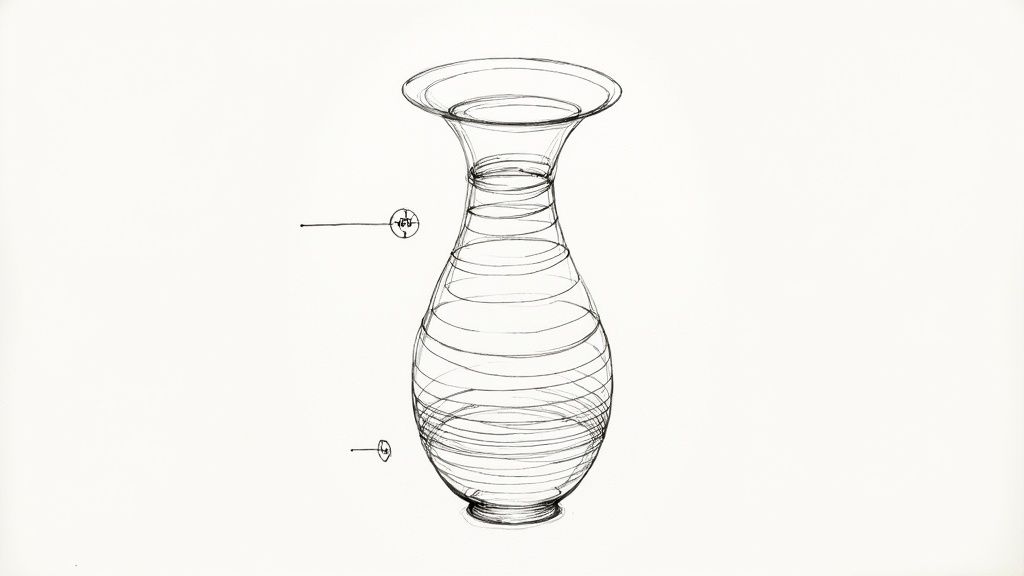
Every great 3D printed vase starts with a design. Your first step is to decide on a style: are you drawn to the sharp, clean lines of a geometric piece, or do you prefer flowing, organic shapes?
To find a model, browse the massive libraries on community hubs like Thingiverse and Printables. These sites offer thousands of free designs from makers worldwide. If you want to create your own, start with easy-to-learn software like Tinkercad to design a simple vase.
Bringing Your Vision to Life with the Right Material
With a design chosen, your next action is to select the material. The filament you pick defines the final look, texture, and strength of your vase. The right material can transform a good design into a breathtaking piece.
Here are the most practical filament choices for vases:
- PLA (Polylactic Acid): The best choice for beginners. It’s easy to print, comes in a vast range of colors, and its matte finish helps hide layer lines.
- PETG (Polyethylene Terephthalate Glycol): Use PETG when you need more strength and durability. It’s stronger than PLA and has a beautiful, subtle sheen that adds a touch of elegance, making it great for functional, water-holding vases.
- Specialty Filaments: For purely decorative pieces, try materials like Silk PLA for a high-gloss, metallic finish that accentuates curves. Wood-fill PLA contains actual wood particles, giving your print a rustic, textured feel that can be sanded and stained.
The path from a digital concept to a physical object requires connecting your design, your material, and your desired aesthetic.
The design you choose will often guide you toward the perfect filament for the job.
Actionable Tip: Don't be afraid to experiment. Print the same vase in matte PLA and then in a shiny Silk PLA to see how dramatically the material changes its personality. This is how you make the piece truly your own.
This creative freedom is impacting the home decor market. The global market for ceramic vases, which now includes innovative 3D-printed pieces, was valued at USD 1.1 billion in 2023 and is projected to reach USD 1.7 billion by 2032. This growth is driven by the design possibilities that 3D printing unlocks. Learn more from this research on ceramic vases.
Choosing a filament is like selecting a design element for a room—it must fit the overall style. For more inspiration on how decor elements work together, review our guide on small living room design ideas.
Filament Comparison for 3D Printing Vases
Use this table to match the right filament to your project goals.
| Filament Type | Best For | Ease of Printing | Aesthetic Finish |
|---|---|---|---|
| PLA | Beginners, intricate details, wide color selection | Very Easy | Matte, slightly opaque, hides layers well |
| PETG | Durable, water-tight vases, functional pieces | Intermediate | Glossy, translucent, slightly more visible layers |
| Silk PLA | Decorative, eye-catching statement pieces | Easy | High gloss, shiny, metallic-like sheen |
| Wood-fill PLA | Rustic, natural, and textured appearances | Intermediate | Matte, wood-like, can be sanded and stained |
Each filament brings a unique character. Experiment to discover which one best fits the story you want your vase to tell.
Dialing in Your Slicer for Flawless Vase Walls
Your slicer software translates your digital model into instructions for your printer. For a 3d print vase, a few key settings will make the difference between a decent print and a breathtaking one.
The most critical setting is Vase Mode. Find it under "Spiralize Outer Contour" in Cura or "Spiral vase" in PrusaSlicer. Instead of printing individual stacked loops, this feature creates the outer wall in one continuous spiral. This completely eliminates the "Z-seam"—the vertical line of blobs where each new layer typically starts. For a vase, a smooth surface is essential, and Vase Mode delivers it.
Fine-Tuning Wall Thickness for Strength
Even in Vase Mode, you can control the wall's sturdiness. To do this, adjust the line width (or extrusion width). You can instruct your printer to extrude a line of plastic that is wider than the nozzle diameter itself.
For example, if you have a standard 0.4mm nozzle, set your line width to 0.6mm or even 0.8mm. This pushes out more filament, creating a thicker, stronger extrusion. The result is a surprisingly robust single wall, which improves both structural integrity and the likelihood of it being watertight.
Chasing That Smooth, Elegant Finish
The visual quality of your vase is determined by the layer height. This setting defines the thickness of each layer. Smaller values create a smoother surface where layer lines are nearly invisible.
- For a high-quality look: Set your layer height between 0.12mm and 0.16mm. This range offers a great finish without excessively long print times.
- For ultra-fine detail: If your design has subtle textures or you want a near-injection-molded appearance, reduce the layer height to 0.08mm.
Finer layer heights also tend to improve layer adhesion, which is crucial for creating a strong, watertight vessel. Your goal is a wall that feels like a single, unified piece of material.
The secret to a flawless vase isn't one setting. It's the combination of a wider line width for strength and a fine layer height for beauty. This balance creates a result that is both functional and artistic.
Why Slowing Down Your Print Speed Is a Good Thing
Finally, adjust your speed. While it’s tempting to print faster, a vase requires a slower, more deliberate pace. High speeds can introduce vibrations that cause "ringing" or "ghosting"—wavy artifacts that ruin a smooth surface.
Follow these speed guidelines for vases:
- Outer Walls: Slow down to 30-40 mm/s. This gives the filament time to lay down perfectly and cool consistently.
- Initial Layers: Print the first few layers at 20 mm/s to ensure perfect bed adhesion and a solid foundation.
The extra time is a small price to pay for impeccable quality. By taking a thoughtful approach to these core slicer settings, you can 3d print vase after vase with confidence.
Printing and Achieving a Watertight Finish
https://www.youtube.com/embed/yyszbiAU5y4
With your model sliced, it's time to print your 3d print vase. A successful print starts before you press 'go'. Complete a pre-flight check to save yourself from frustration later.
The foundation of any good print is a perfect first layer. To achieve this, ensure your print bed is perfectly level and clean. Wipe it down with isopropyl alcohol (IPA) to remove any dust or oils. This gives your first layer the best possible chance to adhere, which is critical for the entire vase.
Beyond Vase Mode for a Leak-Proof Design
Vase Mode creates beautiful, seamless walls, but to make your vase hold water directly off the print bed, you need to ensure the layers fuse together completely.
Here are the specific settings to adjust:
- Increase your print temperature by 5-10°C above the filament manufacturer's recommendation. This makes the plastic more molten, promoting a stronger bond between layers.
- Increase the extrusion multiplier (or flow rate) to 105-110%. This pushes a small amount of extra plastic out of the nozzle, filling any microscopic gaps to create a denser wall that water cannot penetrate.
The secret to a watertight print is creating perfectly bonded layers. A slight increase in temperature and flow can transform a porous print into a solid, functional vessel capable of holding water right off the print bed.
Sealing Your Vase for Ultimate Durability
For guaranteed watertightness and a more professional look, apply a sealant after printing. This post-processing step ensures a leak-proof finish.
Here are three effective methods for sealing a 3D printed vase:
- Clear Acrylic Spray: This is the easiest method. Apply a few light coats of clear acrylic varnish, inside and out, to create a waterproof barrier. It’s fast, widely available, and provides an even finish.
- Polyurethane Spray: For a tougher finish, use polyurethane. It forms a hard-wearing shell that seals the print and protects it from scratches.
- Food-Safe Epoxy Resin: For a stunning, glass-like interior, use a certified food-grade epoxy resin. Mix the two parts, pour it into the vase, and coat the inside. The result is an incredibly smooth and completely waterproof surface.
The drive to create functional, beautiful objects is why 3D printing is making such an impact on home décor. Brands are using innovative, multifunctional designs, which is perfect for modern living. You can see more about what's trending in this detailed industry overview on cgtrader.com.
Bringing Your Vase to Life with Creative Finishes
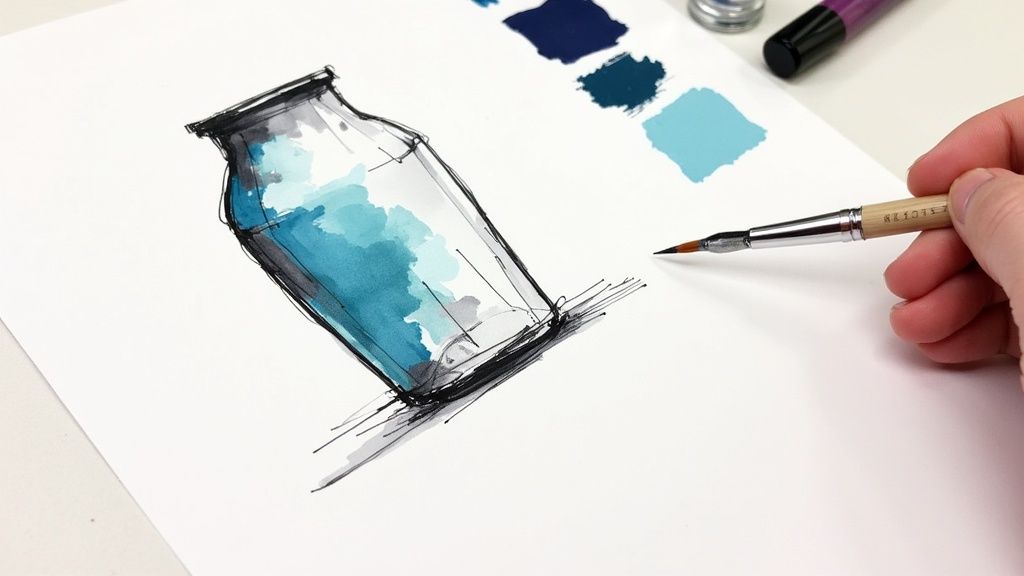
Once your vase is off the print bed, the creative work begins. The finishing stage is your opportunity to transform a piece of plastic into a work of art that reflects your style. With a few simple techniques, you can achieve a professional look that rivals high-end decor.
From Layer Lines to a Flawless Surface
Before painting, you must prepare the surface. The first step is to eliminate visible layer lines to create a seamless, premium-looking object.
Use sandpaper to smooth the surface. Start with a lower grit, such as 220-grit, to remove the most obvious lines. Then, progress to finer grits like 400-grit or higher to achieve a silky-smooth finish. Sand in small, circular motions to avoid creating deep scratches that might show through the paint.
Think of this stage like a painter prepping a canvas. A smooth, well-prepared surface ensures any finish you apply goes on evenly and looks its best. Do not rush this step; your patience will be rewarded.
Unleashing Your Creativity with Color and Texture
With your vase smoothed, it's time to add color and personality. Start by applying a light coat of spray primer. Primer helps the paint adhere better and provides a consistent base color, making your final colors appear more vibrant.
Once the primer is dry, apply your finish:
- Acrylic Paints: Use acrylics to hand-paint detailed patterns, create gradients, or apply a solid coat of color. Use fine brushes for detail work or a sponge to create interesting textures.
- Faux Metallic Finishes: To achieve the look of aged bronze, copper, or gold, use metallic spray paints or rub-on waxes. This technique can give a lightweight plastic vase a surprising sense of weight and history.
- Hydro-Dipping: For a unique, marbled effect, try hydro-dipping. Float special paints on the surface of water and dip your vase to transfer a one-of-a-kind pattern onto it.
These final touches will make your vase uniquely yours. For more ideas, see how other creators are using 3D printed home decor to personalize their spaces.
Let's Answer Your Questions About 3D Printing Vases
When 3D printing vases, a few questions commonly arise. From achieving a leak-proof finish to choosing the right material, here are answers to the most frequent challenges. While coating a vase with epoxy resin guarantees a seal, it is entirely possible to produce a functional, watertight vase directly from the printer with the right settings.
How Can I Make My Vase Watertight Without Any Post-Processing?
The key is to use a combination of settings that ensure the layers fuse together perfectly, eliminating any microscopic gaps.
Follow this checklist for a watertight print:
- Increase Temperature: Raise your nozzle temperature by 5-10 °C above the filament manufacturer's recommendation to create a stronger bond between layers.
- Increase Flow Rate: Set your extrusion multiplier or flow rate to 105%. This pushes slightly more filament through the nozzle to fill tiny pinholes and create a solid wall.
- Choose the Right Filament: Materials like PETG, ABS, and ASA are less porous than standard PLA and are naturally better suited for holding water.
It’s a myth that adding more perimeters makes a vase more watertight. A vase printed in Vase Mode (a continuous spiral) is often more watertight because it eliminates the Z-seam, which is the most common source of leaks.
What If My Vase Is Covered in Stringing or Blobs?
Stringing and blobs are usually easy to fix. This issue is typically caused by plastic oozing from the nozzle as it travels. To solve it, fine-tune your retraction settings. Increase both the retraction distance and speed to pull the filament back more effectively.
Another major cause is moisture. Filaments like PETG absorb humidity from the air. When wet filament is heated, the water turns to steam, causing pops and splatters that result in blobs. Dry your filament spool in a filament dryer or a repurposed food dehydrator before printing. A dry filament prints cleaner and produces a more professional-looking vase.
Here at Griseo Interior, we believe every object in your home should inspire you. We blend timeless Italian design with the innovation of 3D printing to create decor that's not only beautiful but also thoughtfully made. Come explore our collection of minimalist vases and sculptural pieces to find that perfect touch for your space. Discover authentic Italian design at griseointerior.com.