
Mastering 3D Printed Vase Design: An Actionable Guide
Welcome to the practical world of 3D printed vase design, where a good idea and the right technique can create a stunning, physical object. This guide provides actionable steps to take your concept from a digital file to a beautiful piece of art that elevates your space.
From Imagination to Tangible Art
Starting a 3D printed vase project is a journey from a blank digital canvas to a physical object you can hold. This technology allows for the creation of complex and custom designs that are impossible with traditional methods.
The demand for unique, 3D printed decor is growing. The global market for 3D printed ceramic vases was valued at approximately USD 1.46 billion in 2024, highlighting a collective desire for personalized items that mass production cannot offer. You can find more data on this trend at Growth Market Reports.
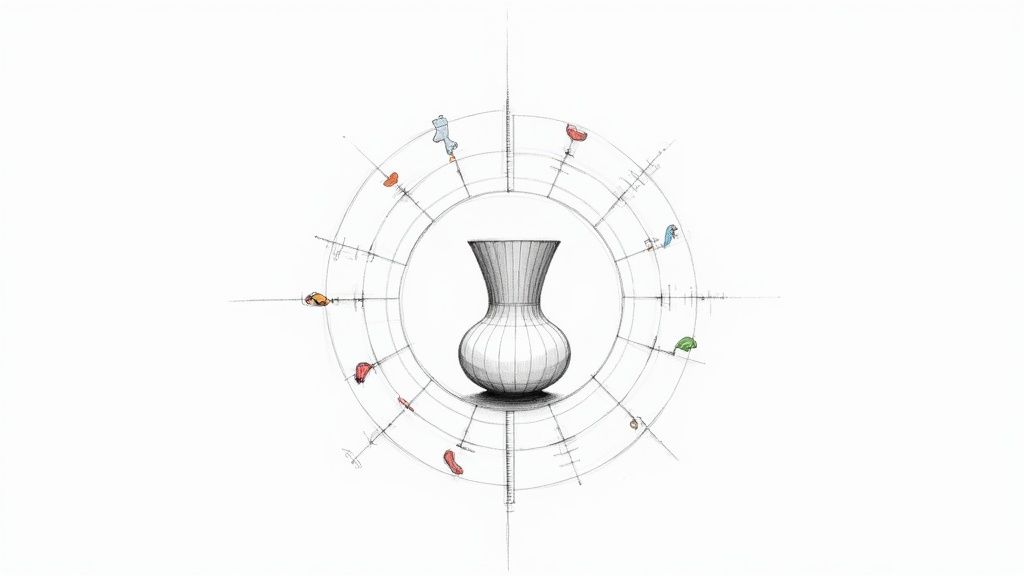
The Creative Starting Point
Every great design begins with a clear purpose. Before you model anything, make a decision: is this a purely decorative sculpture, or does it need to be a functional, water-holding vase? This single choice will guide your design parameters, such as wall thickness and material selection.
This infographic outlines the key decisions you'll face, from initial inspiration to selecting the right software for the job.
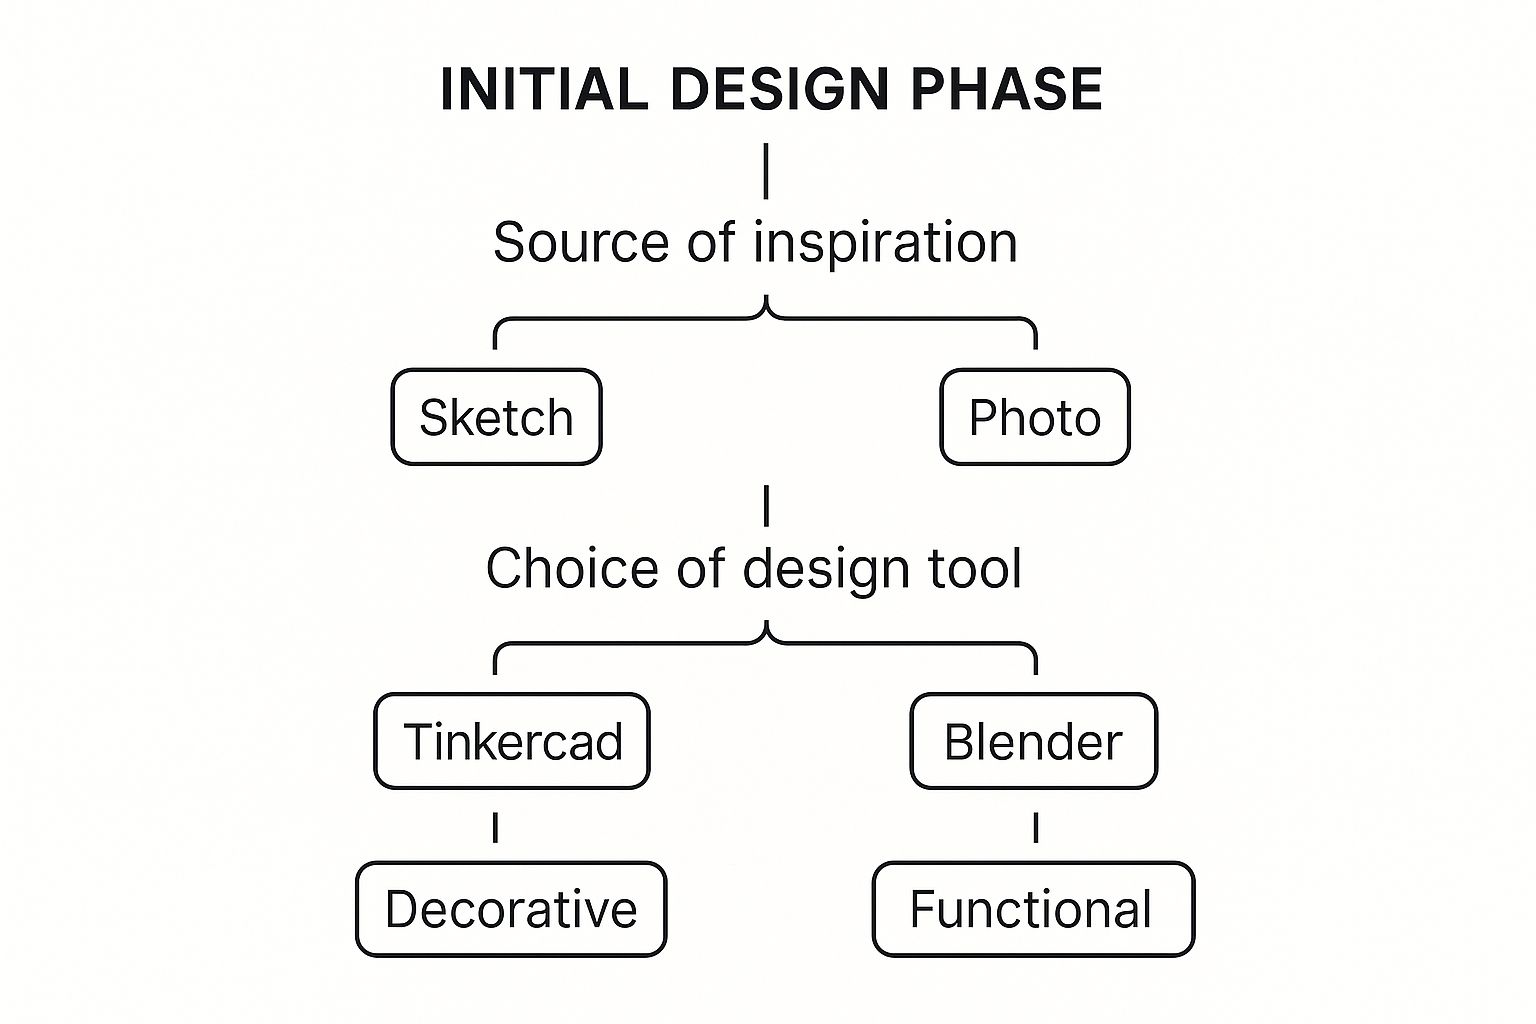
As you can see, defining your vase's function upfront helps you select the right tools and design strategy to efficiently bring your vision to life.
Embracing the Possibilities
3D printing puts you in the creator's seat. Instead of choosing from a store, you can design a piece that perfectly matches your home's aesthetic, whether you prefer intricate geometric patterns or clean, minimalist lines.
The real power of 3D printed vase design is its accessibility. You can learn to create objects that are both deeply personal and artistically impressive, turning your living space into a gallery of your own making.
This hands-on approach aligns with modern decor trends that value individuality and craftsmanship. To see how custom pieces can integrate into a space, check out our guide on minimalist home decor ideas. The path from a simple idea to a finished piece of art is rewarding, and this guide will give you the practical steps to succeed.
Choosing Your Digital Design Studio
To create a 3D printed vase, you first need the right digital tools. Choosing your software is like picking the right creative partner; it will shape how effectively you can translate your vision into a printable model.
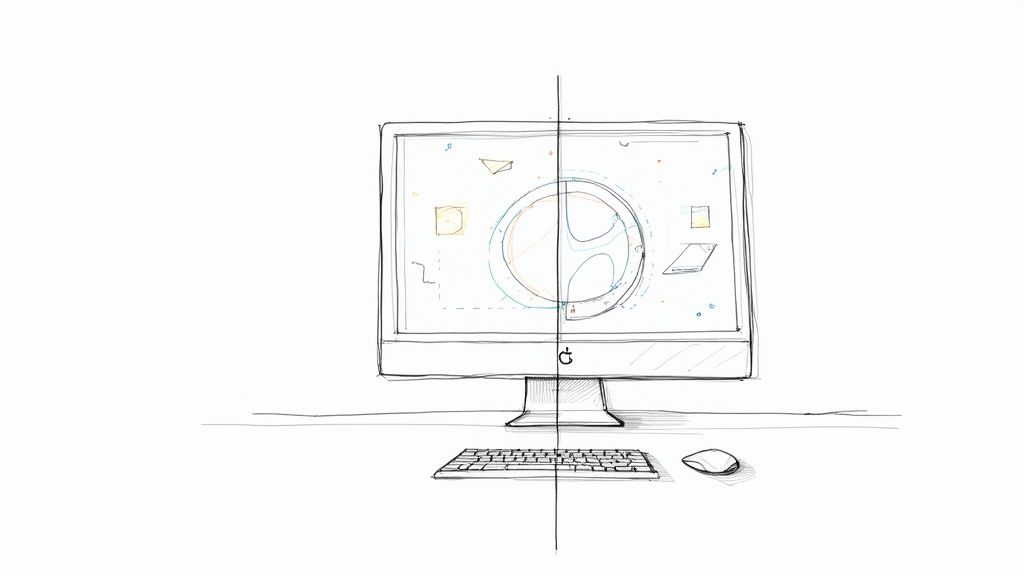
This choice sets the tone for your project. Do you need a simple tool to get started quickly, or a powerful suite for complex designs? Your confidence in your software directly impacts your creative output.
For the Aspiring Designer
If you're new to 3D modeling, start with software that lets you create without a steep learning curve. Browser-based tools are perfect for this.
-
Tinkercad: This is the ideal starting point. It works like digital building blocks. To make a simple vase, drag a cylinder onto the workspace, duplicate it, scale it down slightly, set it as a "hole," and group the two shapes. This intuitive process teaches you the fundamentals of 3D modeling.
-
SelfCAD: As a step up, SelfCAD offers more advanced features like sculpting and built-in slicing tools, providing an all-in-one platform as your skills grow.
These tools are excellent for creating clean, geometric forms. They remove technical barriers and let you focus on your 3d printed vase design.
For the Ambitious Creator
To design vases with organic, flowing curves, you'll need more powerful software that offers precise control over every vertex and surface.
The best tool is the one that most efficiently translates your creative intent into a digital model. For complex, nature-inspired forms, you need software that embraces that complexity.
Blender is the industry standard for free, open-source 3D software. While it can do everything from animation to visual effects, its sculpting tools are exceptional for vase design. Start with a digital sphere and use brushes to pull, push, and smooth it into an organic shape, mimicking flowing fabric or natural formations. This unlocks an artistic level that simpler programs cannot match.
Exploring Parametric and Algorithmic Design
If you find beauty in patterns and mathematics, parametric design is an incredible avenue. Tools like Fusion 360 (free for personal use) or the code-based OpenSCAD let you build designs using defined parameters and rules.
Instead of sculpting a texture by hand, you can define an algorithm to generate a complex, twisting lattice that wraps perfectly around your vase's form. This approach merges art and logic, enabling you to create intricate and precise patterns for a 3d printed vase design that is a piece of computational art.
Here’s a quick comparison to help you choose the right tool for your project.
Comparing 3D Vase Design Software
| Software | Best For | Key Features for Vase Design | Learning Curve |
|---|---|---|---|
| Tinkercad | Absolute beginners; creating simple geometric vases. | Simple shape manipulation, intuitive hollowing. | Very Low |
| SelfCAD | Beginners wanting more features in one place. | Integrated sculpting, slicing, and modeling tools. | Low |
| Blender | Creators wanting total artistic freedom for organic shapes. | Powerful sculpting, mesh manipulation, modifiers. | High |
| Fusion 360 | Engineers and designers needing precise control. | Parametric modeling, precise dimensions, history timeline. | Medium |
| OpenSCAD | Coders who enjoy creating generative, mathematical art. | Script-based modeling for complex, repeatable patterns. | Medium-High |
Ultimately, download a few free options and experiment. You'll quickly find which digital studio feels most intuitive for your workflow.
Designing Vases That Actually Work
This is where your artistic vision meets the practical constraints of 3D printing. A successful design is one that not only looks beautiful on screen but also prints flawlessly. To achieve this, you must think like a 3D printer from the very beginning.
By anticipating how the machine will build your vase layer by layer, you can avoid common print failures and turn potential weaknesses into intentional design features.
Mastering Wall Thickness and Stability
The structural integrity of your 3d printed vase design is paramount. Wall thickness is a critical setting. Too thin, and your vase will be fragile and leak. Too thick, and you will waste filament and time.
Actionable Tip: With a standard 0.4 mm nozzle, set your wall thickness to a minimum of 1.2 mm (3 perimeters) for decorative vases. For a functional, water-holding vase, increase this to 2 mm to 3 mm (5-7 perimeters) to ensure it is watertight and durable.
Stability starts at the base. A tall, elegant vase with a narrow footprint is a recipe for disaster. To prevent tipping, follow this rule: make the base diameter at least one-third of the vase's total height. This widens the foundation and lowers the center of gravity, making your vase stable.
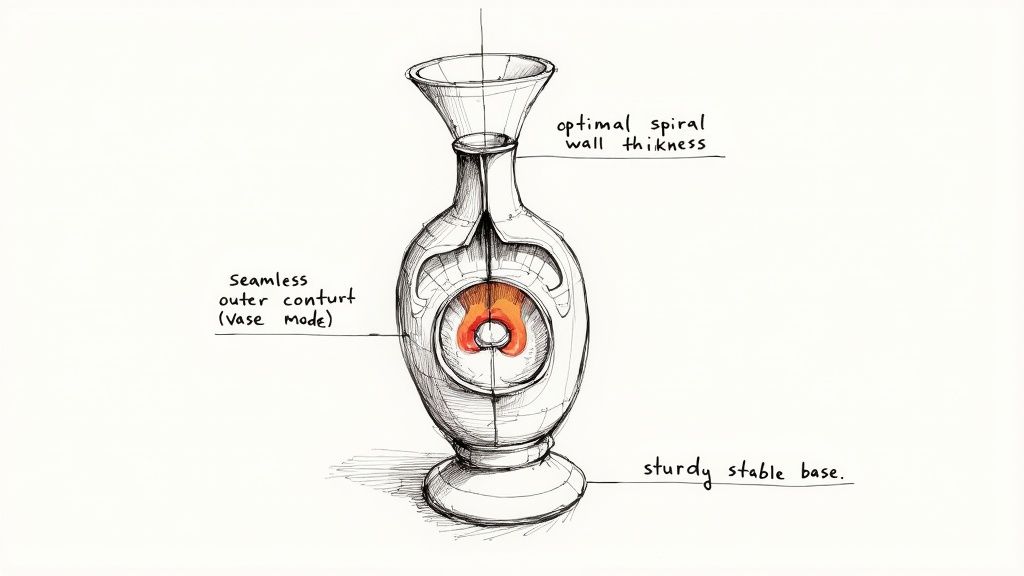
The Magic of Vase Mode
One of the most useful settings in your slicer software is Vase Mode (also called "Spiralize Outer Contour"). This feature instructs the printer to build the entire body in one continuous, seamless spiral path from the bottom up, eliminating the visible seam that often runs down the side of cylindrical prints.
Designing specifically for Vase Mode is a game-changer. It produces watertight vessels with incredible speed and efficiency, creating an elegant, uninterrupted surface that is impossible to achieve with standard printing methods.
To use Vase Mode effectively, your 3D model must be a solid, non-hollowed object. The slicer software will automatically handle the hollowing process. This technique is ideal for fluid, organic shapes, as it accentuates the graceful flow of your design.
Turning Challenges into Design Features
Overhangs, where a new layer extends out over the one below it, can be a challenge. However, they can also be an opportunity for creative design.
Most 3D printers can handle overhangs up to a 45-degree angle without requiring support material. Design with this limitation in mind:
- Use gentle, sweeping curves that never exceed the 45-degree threshold.
- Embrace a faceted or low-poly aesthetic, where angled planes create the form instead of smooth curves.
- Incorporate self-supporting textures like vertical ribs or waves that build upon themselves without creating severe angles.
The world of 3D printed decor is shifting towards organic forms and complex geometries. For inspiration on current trends, such as intricate lattice patterns and internally illuminated vases, check out these 2025 vase trends.
By understanding these core principles, you can create a 3d printed vase design that is not only beautiful but engineered to print perfectly every time.
Bringing Your Design to Life: The Slicing Stage
You’ve finished your digital model. The next step is to use slicing software to translate it into instructions your 3D printer can execute. The slicer converts your design into G-code, a series of commands for layer-by-layer fabrication.
Correctly configuring your slicer settings is critical. It determines whether you get a rough, flawed print or a piece of art with a professional finish.
For any 3d printed vase design, your most powerful tool is the 'Vase Mode' setting, often labeled 'Spiralize Outer Contour' in slicers like Cura.
Activating this feature instructs the printer to lay down a single, unbroken spiral of filament from the bottom to the top. The result is a seamless, naturally waterproof vase, created efficiently and with a superior surface finish.
Perfecting Your Slicer Settings
To achieve a flawless finish, especially in Vase Mode, you need to dial in a few key settings. These adjustments have a significant impact on the final quality.
Here are the essential settings to configure for printing a high-quality vase using Vase Mode.
| Setting | Recommended Value | Why It Matters |
|---|---|---|
| Layer Height | 0.15 mm - 0.2 mm | A lower layer height minimizes visible layer lines, creating a smoother, more refined surface. |
| Print Speed | 40-50 mm/s | A moderate speed prevents vibrations and ringing artifacts, ensuring the filament is deposited accurately for clean details. |
| Extrusion Width | 0.5 mm - 0.6 mm (for a 0.4 mm nozzle) | A wider extrusion creates thicker, stronger walls and improves layer adhesion, which is crucial for a single-wall print. |
| Bottom Layers | 3-5 layers | This builds a solid, watertight base before the printer transitions to the single-spiral wall construction. |
Use these values as a starting point. Perform a small test print to calibrate your settings for your specific printer and filament, as results can vary.
The art of slicing lies in these small adjustments. By understanding how layer height, speed, and extrusion width interact, you gain control over the final texture and strength of your vase, turning a simple print into a professional-quality object.
Choosing Your Creative Material
The filament you choose is as important as your design. It determines the final look, feel, and character of your vase.
PLA (Polylactic Acid) is the best material for beginners. It's easy to print with and available in a vast range of colors and specialty finishes, such as silk, matte, or marble, which can provide a luxurious look directly off the print bed. For a deeper dive into materials and methods, check out our comprehensive overview of 3D printing techniques.
For a more durable vase, use PETG (Polyethylene Terephthalate Glycol). It has better heat resistance and is less brittle than PLA, making it a great choice for functional vases that will hold water for extended periods. The interior design industry has embraced 3D printing for its ability to create custom, intricate pieces. You can learn more about the growth of the ceramic vase market on archivemarketresearch.com to understand the scale of this trend.
Adding the Final Artistic Touches
Once the print is finished, the artistic work begins. Post-processing transforms a raw print into a polished work of art, adding durability, beauty, and a unique character. These finishing steps are what elevate a hobbyist print to a professional-quality piece.
Refining the Surface for a Professional Finish
All 3D prints have visible layer lines. While sometimes desirable for texture, sanding is necessary to achieve a smooth, ceramic-like finish.
Actionable Steps for Sanding:
- Start with a medium-grit sandpaper (220-grit) and use light, circular motions to smooth the most prominent layer lines.
- Move to a finer grit (400 or 600-grit) to polish the surface to a silky-smooth finish.
- For a glass-like surface, continue with wet sanding using even finer grits (up to 2000-grit).
Post-processing is your final opportunity to refine the piece. These steps are where you add the finishing touches that bring its personality to life, turning a technically successful print into an emotionally resonant object.
With a perfectly smooth surface, your vase is now an ideal canvas for painting.
Adding Color and Personality
Painting is where your vase can truly become a one-of-a-kind piece. Always start with a primer.
- Spray Primer: Apply two light, even coats of a filler primer. This creates a uniform surface, fills in microscopic imperfections, and ensures the paint adheres properly.
- Acrylic Paints: Use acrylics for hand-painting intricate patterns or adding expressive, artistic details. They are water-based and easy to work with.
- Spray Paints: For a flawless, uniform color finish, use a quality spray paint. Apply several thin coats from a distance of 8-10 inches to prevent drips and ensure even coverage.
Whether you're aiming for a bold pop of color or a subtle gradient, this is your chance to make a statement.
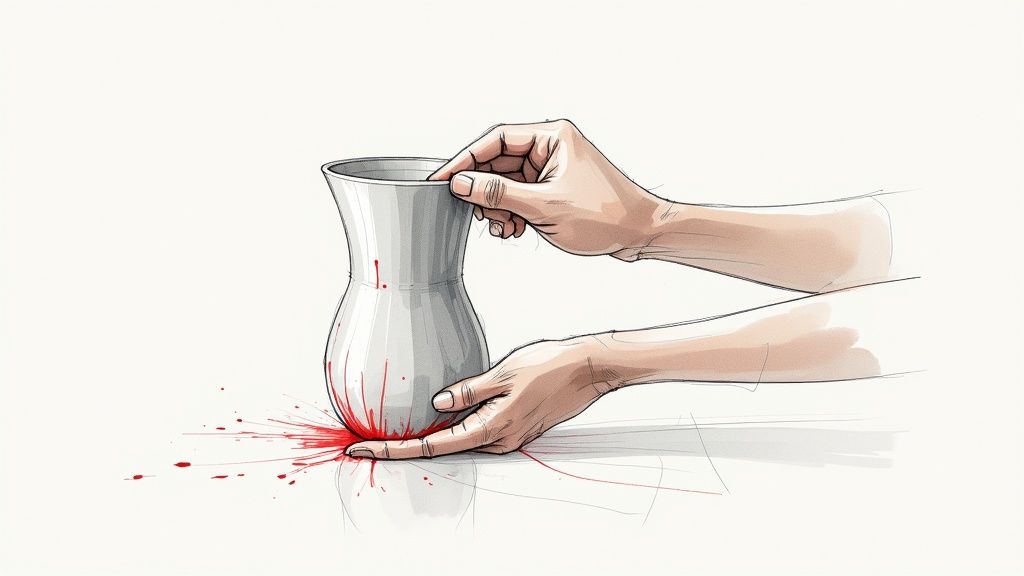
Achieving a Watertight and Durable Seal
To make your vase fully functional for holding flowers and water, you must seal it. Even prints made in Vase Mode can have microscopic gaps.
A food-safe epoxy resin is the most effective solution. It provides a crystal-clear, glossy finish and creates a completely waterproof barrier.
How to Seal Your Vase:
- Mix the two-part epoxy according to the manufacturer's instructions.
- Pour a small amount inside the vase.
- Slowly rotate and tilt the vase to coat the entire interior surface evenly.
- Pour out any excess resin and let it cure for the recommended time (typically 24 hours).
This final step not only makes your 3D printed vase design 100% functional but also gives the interior a beautiful, high-end finish.
A Few Common Questions on Vase Design
As you begin designing and printing 3D vases, you will likely encounter a few common challenges. Here are practical solutions to the most frequently asked questions.
How Can I Make My 3D Printed Vase Waterproof?
The most effective method is to use 'Vase Mode' ('Spiralize Outer Contour') in your slicer. This prints the outer wall as a single, continuous extrusion, which minimizes the potential for leaks between layers.
If your design isn't suitable for Vase Mode, try these techniques:
- Increase Perimeters: In your slicer settings, increase the wall line count to 4-6 perimeters. This creates a thicker, more robust wall that is less prone to leaking.
- Apply a Sealant: For guaranteed waterproofing, coat the interior of the vase with a clear, food-safe epoxy resin or a dedicated 3D print sealant. This creates a non-porous, glassy layer.
What Is the Best Filament for Printing Vases?
Your choice of filament defines the final aesthetic and functional properties of your vase.
- PLA: Best for beginners and decorative vases. It is easy to print and available in a wide range of colors and finishes, including silk, matte, wood-fill, and marble-effect.
- PETG: Excellent for functional vases that need to be more durable and heat-resistant. It's less brittle than PLA and a great choice for pieces that will be handled frequently or hold water long-term.
Both materials are compatible with a more sustainable creative process. You can learn more by reading our article on eco-friendly home accents.
The filament you choose is more than just plastic; it's the final texture, color, and personality of your design. Select a material that not only prints well but also tells the story you want your art to convey.
How Do I Make My Vase Design More Stable?
A top-heavy vase is prone to tipping over. Build stability directly into your design from the start.
- Widen the Base: Follow the rule of thumb: make the base diameter at least one-third of the vase's total height.
- Add Weight at the Bottom: In your slicer, increase the number of solid bottom layers to 5-8. This adds weight to the base, lowering the center of gravity and significantly improving stability.
At Griseo Interior, we believe that every object in your home should be a source of inspiration. Explore our collection of minimalist, artisan-crafted vases and decor to find the perfect piece that blends timeless Italian design with modern artistry. Discover your next statement piece at https://griseointerior.com.