

Your Guide to a Perfect 3D Vase Print
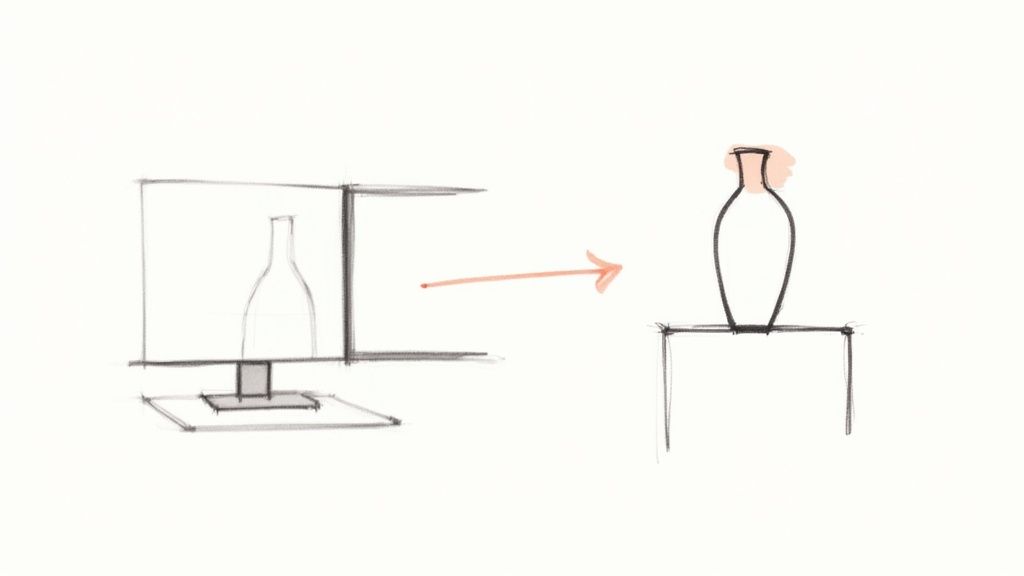
Imagine holding a piece of art you created, one that’s not just a beautiful object but a true reflection of your personal style. That's the magic of creating a 3D printed vase—it's a journey from a simple idea on your screen to a stunning, tangible piece of decor that tells a story. This guide will provide actionable steps to make something uniquely yours.
From Digital Dream to Stunning Decor
The world of 3D printing is growing rapidly, making it easier than ever to fill our homes with custom objects. In 2021, 2.2 million 3D printers were shipped, a number expected to reach over 21.5 million by 2030, according to Precedence Research.
This surge means more people have access to the tools to create beautiful, functional art. This guide is your practical partner, walking you through the entire process from concept to finished vase. We'll dive into the best tools for the job, explore sustainable materials, and provide the foundational knowledge you need for a flawless print.
What You Will Learn
Here’s a practical look at what we’ll cover to get you started:
- Essential Tools and Materials: We'll review the must-have software and filaments. I’ll provide specific recommendations for sustainable options that lend a beautiful, handcrafted feel to your final piece.
- Design and Slicing: You'll learn how to find or design your model and, more importantly, how to prepare it for printing using the right settings—especially the game-changing "vase mode" for a perfect, seamless look.
- Printing and Finishing: I'll share actionable tips for getting a clean print right off the bed and how to apply final artistic touches that make your vase truly special.
Our goal here is to get you beyond the technical steps. This guide will show you how to use your 3D printer not just as a machine, but as a tool for personal expression. A 3D printed vase isn't just a project; it’s your chance to fuse technology with artistry.
Whether you’ve been printing for years or you're just unboxing your first machine, you’ll find the practical advice and creative spark you need right here. To see what's possible, check out our other posts on 3D-printed home decor.
Choosing Your Canvas: Materials and Design
Before printing, the soul of your 3d vase print is born from two choices: the material you use and the design you select. Getting these right is what elevates a simple object into a piece of art that feels intentional.
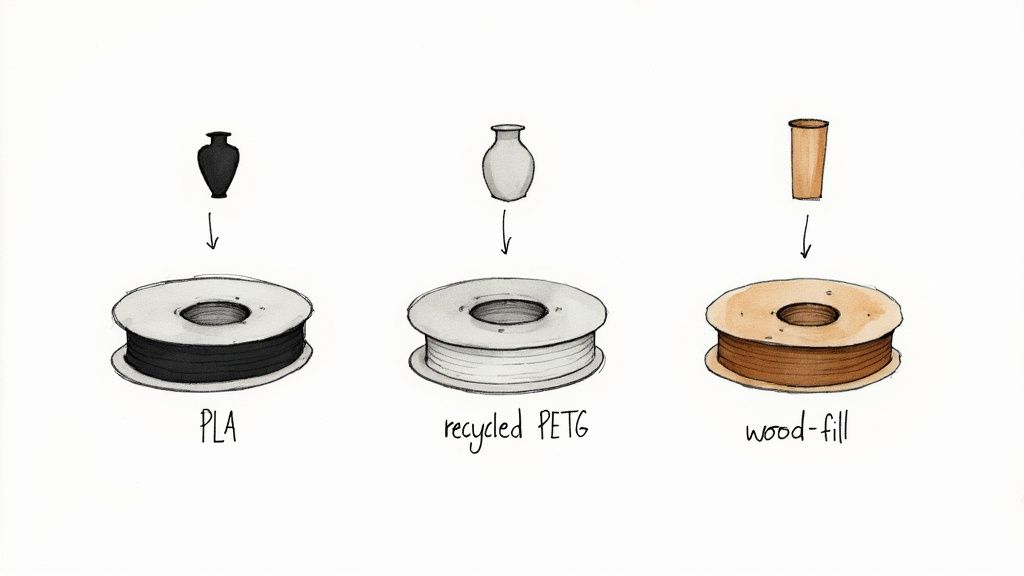
Think of filament as a sculptor’s clay. While standard PLA is reliable, exploring specialty filaments adds unique character. Consider the organic feel of a wood-fill PLA or the sleek clarity of recycled PETG. This choice sets the entire tone.
Finding the Perfect Filament
Your filament decision directly shapes the final look and feel of your vase. It’s about more than just color; it’s about texture, finish, and presence.
To help you decide, here is a practical breakdown of popular options.
Filament Choices for Your 3D Vase Print
| Filament Type | Key Aesthetic Feature | Ease of Printing | Best For |
|---|---|---|---|
| Wood-Fill PLA | Beautiful, matte finish that can be sanded and stained | Intermediate | Rustic, organic designs that mimic handcrafted pottery. |
| Recycled PETG | Glossy, often translucent, with a modern, sleek look | Intermediate | Durable, functional vases where a touch of elegance is desired. |
| Marble/Stone PLA | Speckled, stone-like texture with a satisfying heft | Easy | Minimalist, sculptural vases that emulate heavy, carved materials. |
| Standard PLA | Wide color variety, easy to print, and reliable | Easy | Beginners or projects where vibrant color is the main focus. |
Each material brings a unique personality to the print bed. Choose one that complements your design's form to create something with genuine artistic soul.
Your filament is the raw substance that gives your design weight, texture, and life. Experiment with different types to find the perfect match for your vision.
Selecting a Stunning Vase Design
With a material in mind, find a design that lets it shine. Whether creating your own model or downloading one, look for designs optimized for 'vase mode' printing (often called 'spiralize outer contour' in your slicer).
When searching on platforms like Thingiverse or Printables, use keywords like "vase mode" or "spiral vase." These models are designed to be printed as one continuous, single-walled extrusion. This technique eliminates the vertical seam (or "z-seam") that can mar the surface of a print.
A great vase-mode file will have a solid, flat base for good bed adhesion and will avoid tricky overhangs that cause issues with a single wall. For a deeper dive into how these elements come together, explore our thoughts on the artistry behind a great 3D print.
Dialing in Your Slicer for a Flawless Vase
https://www.youtube.com/embed/DJiM2aGm2f4
Your slicer software is the bridge between your digital model and the physical object. For a vase, a few key settings can make all the difference between a flawed print and a stunning, leak-proof piece of art.
The most powerful tool for this job is Vase Mode. In slicers like Cura, this is called "Spiralize Outer Contour." This feature changes the printing process entirely. Instead of building the vase layer by layer with starts and stops that create a visible seam, it prints the body in one continuous spiral.
Actionable Tip: Enabling Vase Mode is the single most effective step for a better vase print. It eliminates the Z-seam, which prevents visual flaws and potential leaks, resulting in a seamless, often watertight vase straight off the printer.
Fine-Tuning Your Way to Perfection
Enabling vase mode is just the first step. A truly beautiful vase comes from a harmony of settings. Once you learn to dial these in, you'll have incredible control over the final result.
Here are the exact settings to focus on when printing a vase:
- Layer Height: This controls the final finish. For a smooth, refined surface where layer lines are barely visible, set your layer height to 0.15mm. For a more rustic, textured look that highlights the printing process, use a larger height like 0.2mm to 0.28mm.
- Bottom Layers: A vase needs a solid, waterproof foundation. To achieve this, set 4 to 6 solid bottom layers in your slicer. This provides a thick, strong base without wasting material or adding excessive print time.
- Print Speed: Speed can be an enemy for tall, slender objects. High speeds create vibrations that lead to "ringing" or "ghosting" artifacts. Start with a slow and steady speed around 40-50 mm/s. This pace allows the printer to lay down each spiral layer precisely, resulting in a cleaner finish.
Think of these settings as a recipe. Layer height determines texture, bottom layers provide stability, and print speed ensures clarity. Tweak each one to gain complete creative command over the final piece.
Bringing Your Print to Life, Layer by Layer
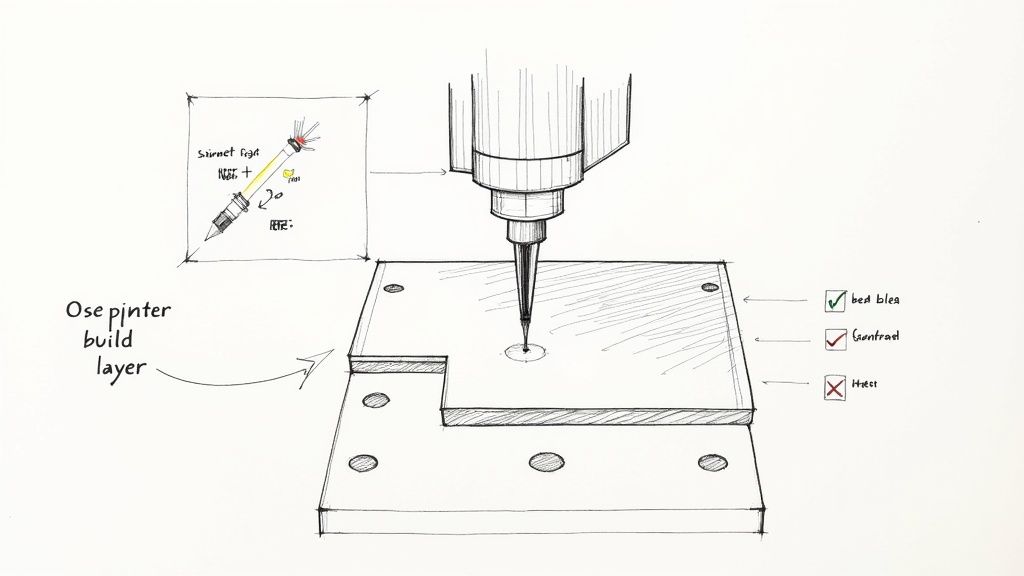
With your file sliced, you are ready to turn digital code into a physical object. Proper preparation at this stage is crucial for a successful 3d vase print. Everything hinges on a perfect first layer.
Before hitting 'print,' clean your build plate thoroughly with isopropyl alcohol to remove any grease or dust that could prevent adhesion. Next, calibrate your Z-offset to achieve the perfect "squish," ensuring the first layer is pressed firmly onto the bed for a strong bond.
Keeping a Watchful Eye
Monitor the print actively, especially during the first 20-30 minutes. Paying close attention now can prevent print failure and wasted filament later. Learn to spot trouble before it starts by watching for these signs:
- Under-extrusion: Thin, stringy lines or tiny gaps may indicate a partial clog or incorrect temperature settings.
- Layer shifts: If the print suddenly misaligns, check for a loose belt or reduce your print speed.
- Warping or lifting: If the corners peel up from the bed, you have an adhesion problem. This is often caused by drafts or an unevenly heated bed.
Actionable Tip: A successful print is a partnership between you and your machine. Learn to read its visual cues so you can intervene early and guide it toward a flawless result every time.
The 3D printing market is projected to hit USD 16.16 billion by 2025, driven by the technology's ability to create complex shapes. Mastering the printing process itself is key to leveraging this growth. You can dive deeper into these exciting industry advancements to see where things are headed.
Finally, control your printing environment. Tall, thin-walled objects like vases are sensitive to their surroundings. A draft from a window or vent can cause uneven cooling, leading to layer lines or failure. Place your printer in a calm, draft-free spot for the best results.
Adding the Final Artisanal Touches
Your 3d vase print is off the build plate, but the work isn't over. Post-processing is where you transform a great print into a true piece of art, giving it a handcrafted feel that’s uniquely yours. This is what separates a standard print from a stunning, artisanal masterpiece.
Polishing Your Creation
Even clean prints can have small imperfections. To achieve a refined finish, start with light sanding. The goal is not to erase the layer lines but to smooth out rough spots.
Use a high-grit sandpaper, 220-grit or higher, and lightly buff any imperfections. This small step improves the vase’s tactile quality without sacrificing its 3D-printed character.
Your final touches are an extension of your creative vision. Whether you add a splash of color or a protective sheen, this is your chance to make the piece undeniably your own.
This step is especially effective for specialty filaments. If you used wood-fill PLA, light sanding followed by a wood stain can create a rich, authentic grain that is nearly indistinguishable from carved wood.
Sealing and Painting for a Finished Look
To add personality, use acrylic paints, which adhere well to most filaments. You can paint the entire vase for a bold statement or add delicate accents to highlight its geometry.
Finally, apply a sealant. A matte or satin clear-coat spray protects your paint and gives the vase a professional, uniform finish. To make the vase watertight, apply 2-3 thin coats of a clear, waterproof sealant like polycrylic spray to the interior. This will keep it both functional and beautiful for years to come.
Exploring designs like this gorgeous white textured vase can offer inspiration for your final finishes.
Troubleshooting Your 3D Vase Print
Even experienced printers encounter issues. This troubleshooting guide provides actionable solutions to common problems when creating a vase.
How Do I Make My Vase Actually Hold Water?
A common issue with vase mode prints is slow seeping due to microscopic gaps between layers. The solution lies in post-processing.
Apply two to three thin coats of a clear, waterproof sealant to the inside of the vase. Polycrylic spray is easy to use for decorative pieces. For a fully waterproof and food-safe finish, use a two-part epoxy resin. Ensure each coat cures completely. This step transforms your print from a decorative object into a functional vase.
What's the Best Filament for a Vase That Lasts?
The best filament depends on the vase's intended use. For a purely decorative piece, PLA is an excellent choice due to its wide variety of colors and effects (wood-fill, marble, silk) and its ease of printing.
If the vase will be used frequently with water and fresh flowers, you need a more durable material. For this purpose, PETG is the ideal choice. It is stronger than PLA, more resistant to heat, and can better withstand regular handling, ensuring your creation lasts.
We're on the cusp of some amazing developments in 3D printing. AI is starting to play a huge role, potentially allowing creators to generate complex, ready-to-print models from just a few words. Imagine typing "art nouveau vase with lily patterns" and getting a perfect file. It's an exciting time! You can read more about the future of AI in 3D printing and see what's on the horizon.
My Tall Print Gets Messy at the Top. What Gives?
Wobble at the top of a tall print is a frequent problem. As the print gets higher, it becomes less stable and can sway with the printer's movements, resulting in a messy finish.
To fix this, reduce your print speed by 10-15% after the print has passed the halfway point. You can often do this directly from your printer's interface mid-print. Also, ensure your printer is on a solid, stable surface to minimize vibrations.
At Griseo Interior, we pour this same passion for artistry and intention into every piece we design. Our work is a celebration of modern technology meeting timeless, minimalist Italian craftsmanship. We believe every object in your home should tell a story.